Makerspace 101 Guide
Makerspaces

Have you heard of Makerspaces? They are certainly gaining momentum in schools and libraries around the world yet in my day to day interactions I’m finding the term ‘makerspace’ to be a relatively unknown concept. Doing my part to change that! Let’s take a moment to explore what Makerspaces are all about in this quick ‘Makerspace 101 Guide’!

What is a Makerspace?

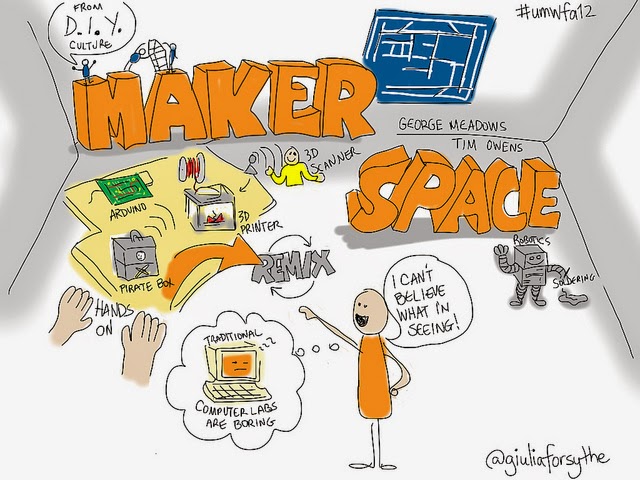
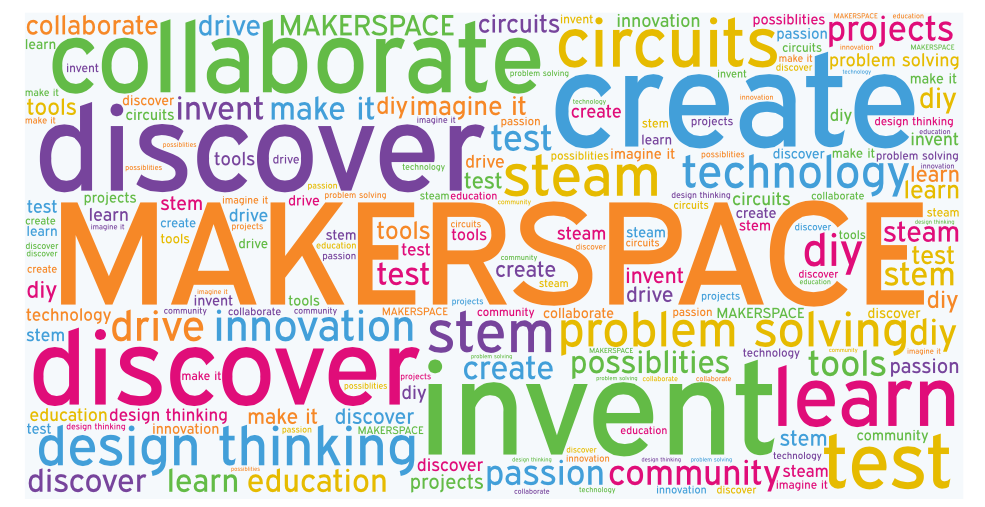
A makerspace is a place where people can gather to create, build, explore and discover using different types of materials and tools. Sometimes referred to as STEAM labs, hacker spaces or fab labs, makerspaces are popping up in schools, libraries and community centres all around the world.


History

Makerspaces grew out of DIY and hacker cultures. The “maker movement” is said to have started in 2005 when the first Make Magazine was published. This movement established a community for independent inventors, designers and tinkerers to collaborate and share projects and inspiration.

Today’s makerspaces are rich learning environments that include a range of high tech and low tech materials and serve to foster grassroots innovation within communities.

Makerspace

Image Source

What is the purpose of a makerspace?

A Makerspace is a place where someone could come to learn how to use a new tool or material in a new way, see what others are working on and/or explore and discover how to use that new material or skill in pursuit of an intrinsically motivated project.

It’s basically a place where you can make cool stuff… while learning through hands on experimentation… practicing creative problem solving… and persevering through challenges to reach your end goal.

What do you want to make?

Image Source

Who are makerspaces for?

The following list taken from the Makerspace Playbook answers the question ‘What makes a Maker?’:

  • Makers believe that if you can imagine it, you can make it. We see ourselves as more than consumers – we are productive; we are creative.
  • Makers seek out opportunities to learn to do new things, especially through hands-on, DIY (do-it-yourself) interactions.
  • Makers comprise a community of creative and technical people that help one another do better. They are open, inclusive, encouraging and generous in spirit.
  • Makers celebrate other Makers – what they make, how they make it and the enthusiasm and passion that drives them.

“Everyone is a Maker, and our world is what we make it.”

– Makerspace Playbook
maker1

Image Source

What does a Makerspace look like?

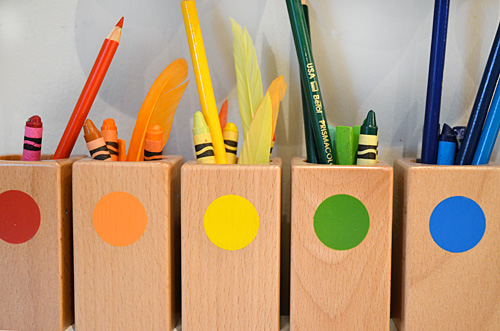
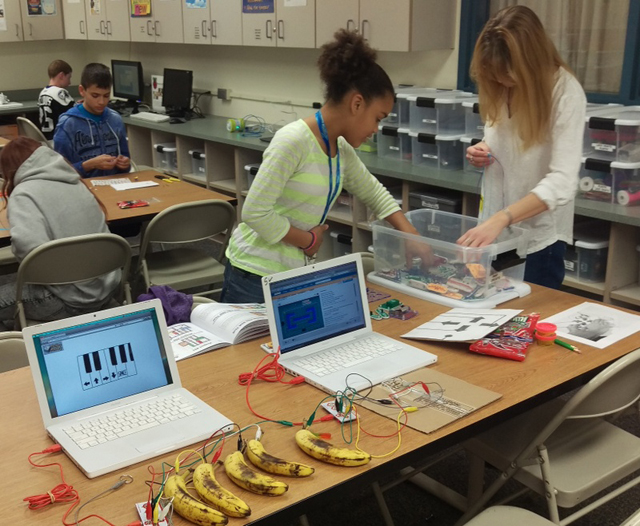
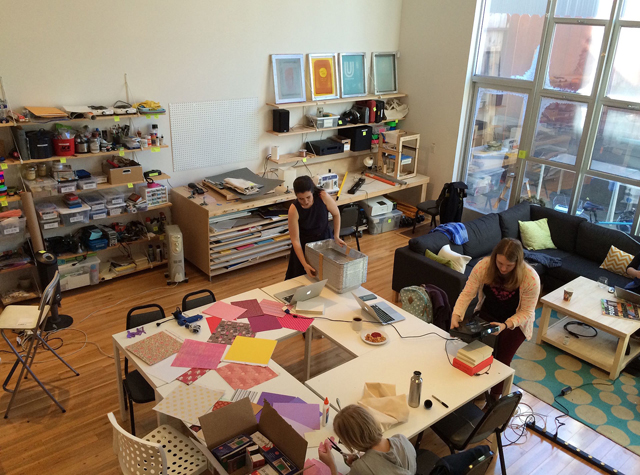
Makerspaces are typically designed with a balance of large work surfaces for collaboration and areas for quiet tinkering independently. Materials include a diverse range of tools and supplies organized in clear containers to spark the imagination in times of ‘Maker’s block’.

Other things you might see in a Makerspace:

  • An “idea rummage box” is a place for kids to store extra materials or objects that might inspire others.
  • Wall space or a shelving area for showcasing products and the process to seed ideas and inspiration.
  • Tool and material suggestions include reusable tools (cutting materials – scissors, X-acto knife, etc., joining materials – staple gun, hot glue gun, sewing needles etc., power tools – jigsaw, sewing machine, drill etc., batteries, electronics and textiles) and consumable materials (electronics, sandpaper, adhesives, wood, textiles, tape etc.).
double_union_paper_workshop

What are the key benefits of Makerspaces?

  • Makerspaces engage students in learning.
  • STEM/STEAM (science, technology, engineering, art and math) activities.
  • Inquiry based learning.
  • Hands on exploration.
  • Encourages design thinking mindset and practices.
  • Collaboration and community building.
  • Practicing growth mindset.
  • Pursuing an intrinsically motivated goal.
  • Creative problem solving skill practice.
  • Idea generation, development and testing > experiencing the creative process.


Makerspace Project

Image Source

Resources:

Additional articles you might be interested in:

Makerspace Playbook, School Edition – a comprehensive pdf resource for starting a Makerspace

What is a Makerspace? Video – an excellent glimpse at the experience from both student and teacher’s perspectives

Makerspace Project Ideas – Pinterest

Designing a School Makerspace

Advocating for Makerspaces in Libraries

Building a Makerspace Library

Defining Makerspaces: What the Research Says

7 Things You Should Know About Makerspaces

The Big Book of Makerspace Projects

A Space to Create

When you hear about creativity, you hear a lot about creating the right environment to set the stage for getting into the creative zone. It’s often a place that’s not too cluttered but not too sparse. A place with some toys or inspiration and most definitely some tools to aid in the creation process.  If you’re an artists, you probably desire a space with lots of natural light, a desk or easle and full access to all of your supplies. If you’re a writer, a quiet corner free of distraction might be all you need. Imagine now that you’re a child again. What would you want to see in your space for creating?

As parents we often create play spaces for our kids that are full of toys, building blocks, push toys, pretend play areas and so on. These are all great, but it can get to be a bit overwhelming when the kids toys start to take over the house. Been there, done that!  Instead, we’ve designated a space for all those fun toys in a playroom and created what in our house we call… The Work Station. Sometimes referred to as the Writing Station or the Art Station.. depending on what the task at hand is.

Creating a designated space to create in our home is one of the best things I’ve done. We’ve created our space in the main living room area of our home.  The space gives our daughter creative freedom to explore what she wants, whenever she wants. She can write, create, read, experiment and come up with crazy project ideas.. and she does!

I think all kids should have a little work area, art area.. or whatever you decide to call it so I’m sharing how we’ve set up our area and what we have in there in hopes that it inspires you to create a similar space. You might already have a kid work station set up. If so, I’d love to hear what you’ve included in it, and what your kids have created!

Step 1 : Find a space in your home to create your kids work station.
If your kids are young, like mine, you’ll want them to be within view which makes the kitchen or living room the perfect choice.  If they’re a little older, their bedroom may be the perfect place… Violet’s already asked to have her workstation in her bedroom in our next house.

A corner in your living room is all you need. We placed ours behind some living room chairs so the kids space is sort of hidden away but still part of the action.

Step 2: Set up the space with child sized furniture.
A large work surface is a good idea but any small table will do the trick. Kid sized chairs will allow little ones independence to get on and off the chairs themselves. We’ve found having a second chair for a friend is a good idea as well.

Look for kid furniture second hand on Craigslist or Kijiji, or if you’re looking for new and affordable, Ikea is your best bet.  I like this Stuva desk for all the space and the Stuva storage bench to hide away materials that get out of hand.

Step 3: Decide what you want your workspace focus to be.
It might be a writing station or an art station or a science area. It could perhaps be a mix of all of these things but I think it’s nice to pick a focus and provide several materials within that subject area. There is much to be said about this and Playful Learning is an amazing resource for creating thoughtful spaces for children.

Watch your child and see what he or she is interested in. In our case, Violet was naturally drawn to letter writing. She will make notes, write cards, seal them and adorn them with stickers, then deliver them to her favourite people. She’s even known to slip the odd letter under neighbours doors in Nana’s condo.  On occasion she’s received a letter or two back – usually with stickers and an invitation to send back more letters!  For me, it was a no brainer… a writing station it was!  I also like the idea because she is learning her sounds and is at the pre-reading stage so I like giving her more opportunities to practice while feeding into her interest in writing.

While spelling out names of family and friends as she often does, she’ll sit at her desk and call over to us in the kitchen: “what comes after the e??”

Our work area started as a writing station. It evolved into an art station the week that I brought out a set of paints. Then it further evolved into a craft station after bringing home a craft tub. It was getting out of hand, so I streamlined the work area contents and brought it back to a writing station, as shown here.

Step 4: Provide appropriate materials to bring the workspace alive.
This is the fun part. Our writing station includes:

  • coloured pencils
  • paper
  • list making paper
  • cards and envelopes
  • stickers
  • glue
  • scissors

In addition to writing materials, we’ve included reading and spelling activities:

My key guidelines for the space are to keep it clutter free, beautiful and accessible. Everything should have a place. Although it won’t always make it’s way back there and if your house is like mine, other things will make their way into the workstation, but that’s okay.  Above all the space needs to be inviting.

Step 5: Stand back and see what happens
Let the creation begin. This is the absolute best and most important part! It’s fun being surprise by what your child might come up with. Probably not at all what you thought your child might create and that’s perfectly okay. In fact, it’s more than okay, it’s awesome. Celebrate it and don’t interfere with the creative thinking process. Let it happen and enjoy the silence!